Coding Tutorial #5: The final touch
Coding tutorial in which we help you set up to code and teach you how to develop your own web app step by step.
- Are you ready for the final piece of your first webb app puzzle?
In this blog post we will put the finishing touches on our online resume.
We will:
1. Add the icons and change the icon links
2. Add a smooth scroll when clicking on a menu item
3. Import the right font
4. Add scrollspy to show the active item in the menu
To view our related vlog, open the video below.
Ready? Let’s go!
Step 1: Adding the missing icons and links
If you open https://startbootstrap.com/previews/resume/ and compare it with your own page, you can see that the icons are missing.
To remedy we will install Fontawesome.
! Fontawesome is a toolkit or library with icons in font or image format.
Open your terminal and go to your purplepolarbear project and open your project in the browser.
If you can’t see your project in the browser, your project stopped running. If this is the case, type rails s in the terminal. This terminal needs to remain open, so open a new terminal tab where we will install fontawesome.
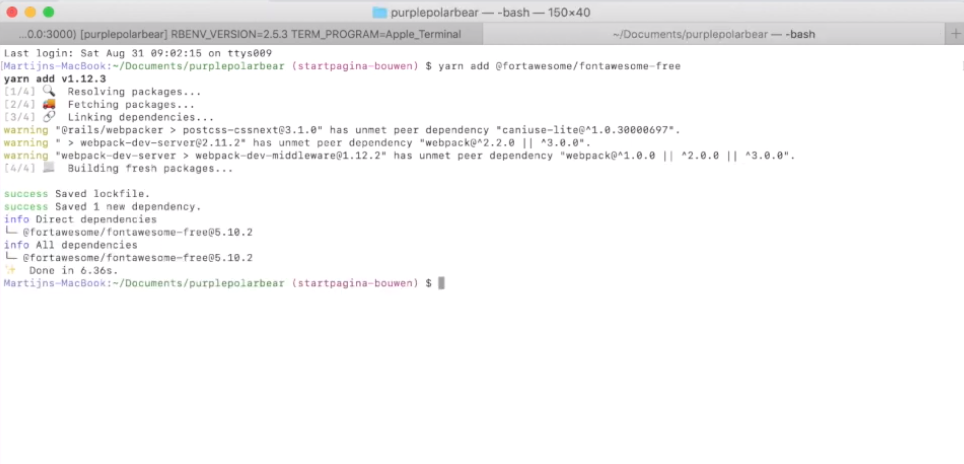
Type in your terminal:
yarn add @fortawesome/fontawesome-free
Image 1
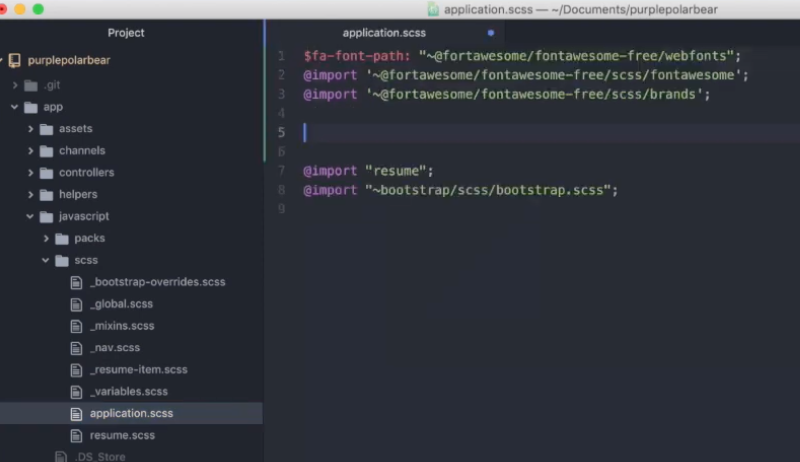
 Open your project in Atom and open the file application.scss.
Add the following to the top of the file:
$fa-font-path: "~@fortawesome/fontawesome-free/webfonts";
@import '~@fortawesome/fontawesome-free/scss/fontawesome';
@import '~@fortawesome/fontawesome-free/scss/brands';\
Image 2
Go to your project in the browser and refresh the page. Look! The icons are visible.
Now we need to add the right links to the icons.
We will swap out two of the icons for a youtube and instagram icon, because we don’t have a Github or Twitter account we want to link. Ofcourse you can decide which icons you want to use or remove for your resume.
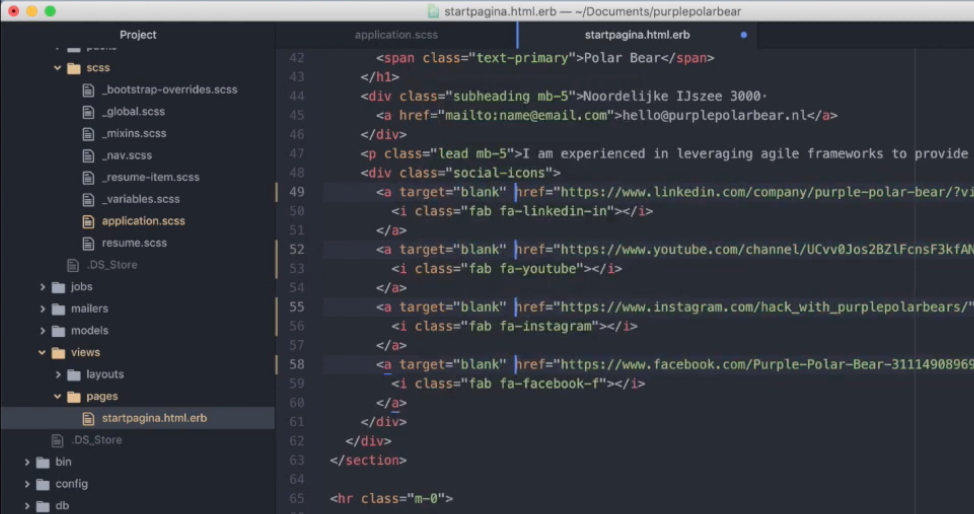
Open startpagina.html.erb in Atom.
Find the first icon with class fab fa-linkedin-in. As you can see the a tag that surrounds the icon has a href with only a #-sign. Instead of the #-sign add the link to your LinkedIn page.
Don´t want to use this icon? Remove the a-tag, i-tag and closing a-tag → </a>
Fontawesome has a lot of different social media icons you can use. For example change the class fa-linkedin to fa-instagram for the instagram icon.
Because we don’t want people to leave our page we will add target=”_blank” to all the icon a-tags.
This will make sure the links open in a different tab in the browser.
After making your changes, save the page and open your project in the browser.
Image 3
Refresh the page. You will see your changed icons (if you changed them). Check if the links open the right page in a new tab.
Step 2: making the page scroll smoothly
When you click on an item in the menu, you jump to the section on the page. We want this transition to be smooth. To do this, will we have to install and copy some javascript.
Go to your project in Atom and add a new folder called “scripts” in the javascripts folder.
Go to the downloaded template files of the resume and copy the file resume.js to the new scripts folder in our project.
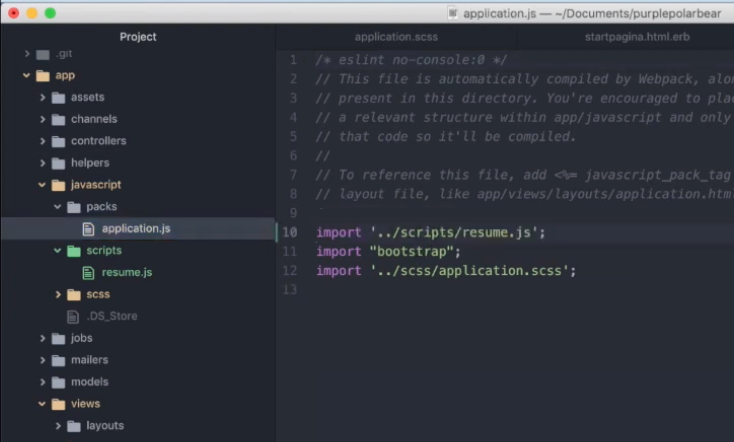
Now we need to make sure our project can use this new file. We will import it in the main javascript file of our project.
Open application.js in our project and add the line
import '../scripts/resume.js';
Image 4
The javascript is imported, but this code needs an external javascript library to work: jquery-ui.
We will add this library to the project with yarn.
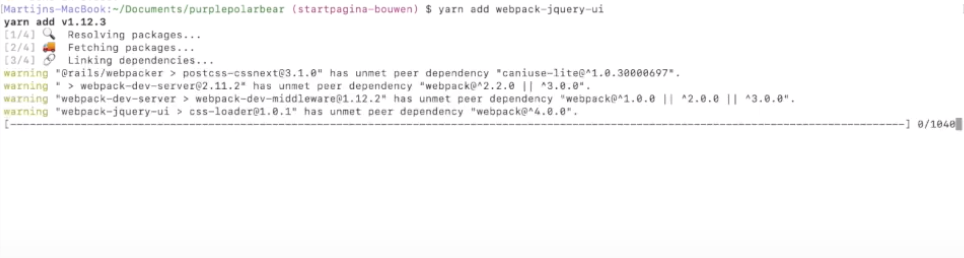
Go to your terminal and type
yarn add webpack-jquery-ui
Image 5
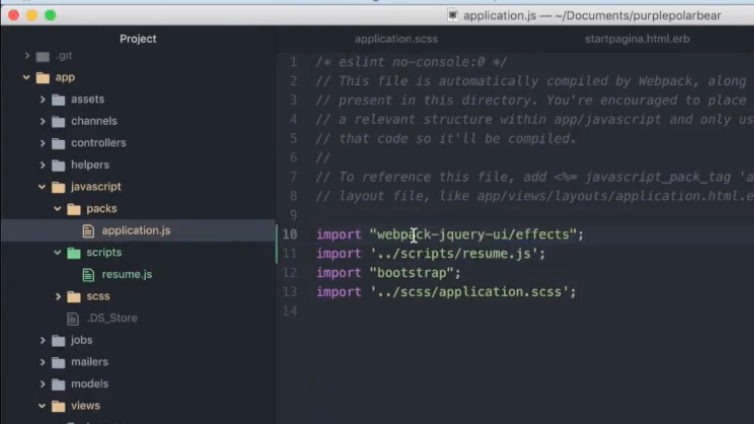
We also need to import this library in the application.js file.
Open application.js and add the following line above the import resume line:
import ‘webpack-jquery-ui/effects’;
Image 6
Open you project in the browser and refresh the page.
Click on a menu item. Whee! Smooth scroll!
Step 3: Import the right font
When you compare our resume to the template you can see that the font on our page is kind of basic. All fonts are still the default bootstrap fonts.
We will add a google font to make the text pop more.
Open application.scss in Atom. Add the following lines to the top of the file:
@import url(“https://fonts.googleapis.com/css?family=Saira+Extra+Condensed:500,700&display=swap");
@import url(“https://fonts.googleapis.com/css?family=Muli:400,400i,800,800i&display=swap”);
These lines import two google fonts: Saira Extra Condensed and Muli.
! Google has a lot of different fonts you can use for free. You can browse fonts at https://fonts.google.com/. If you want to use other fonts, you have to import this font and (at least for our resume template) Change the font-family name to your chosen font in _mixins.scss.
In (s)css order of imports matters. You can override styles defined in bootstrap by importing your own file scss file later with adapted styling. So if Bootstrap defined a certain class you can put that class in your own file and change what color, size etc. is associated with that class.
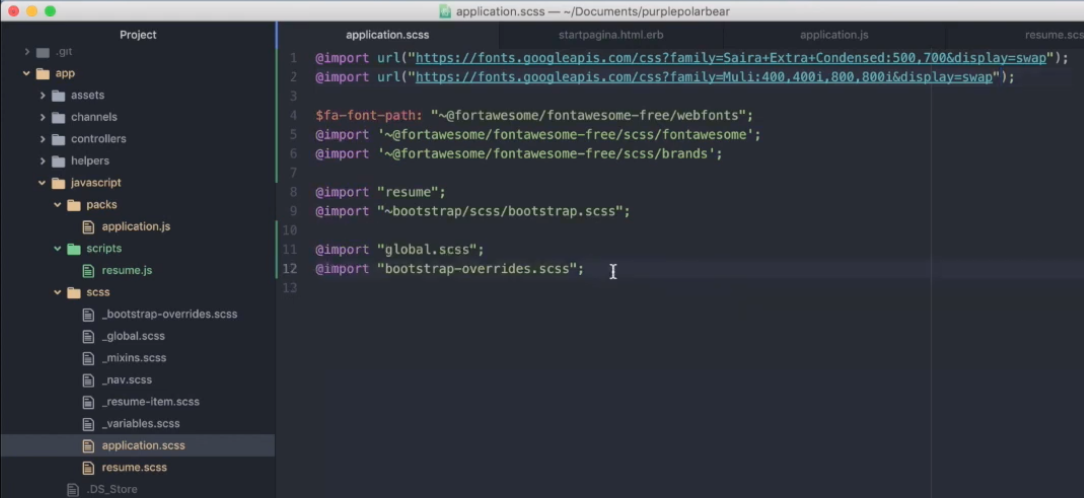
Because the order matters and we want to override some default styles, we need to move some of the imports.
Open resume.scss and remove the global.scss and bootstrap_overrides.scss. Move these imports to application.scss below @import bootstrap/scss
Image 7
Open your resume in the browser and refresh. The font has changed!
Step 4: Add scrollspy to show the active item in the menu
Our menu now navigates to the right section with a smooth scroll. But we also want to make sure the menu indicates where you are on the site.
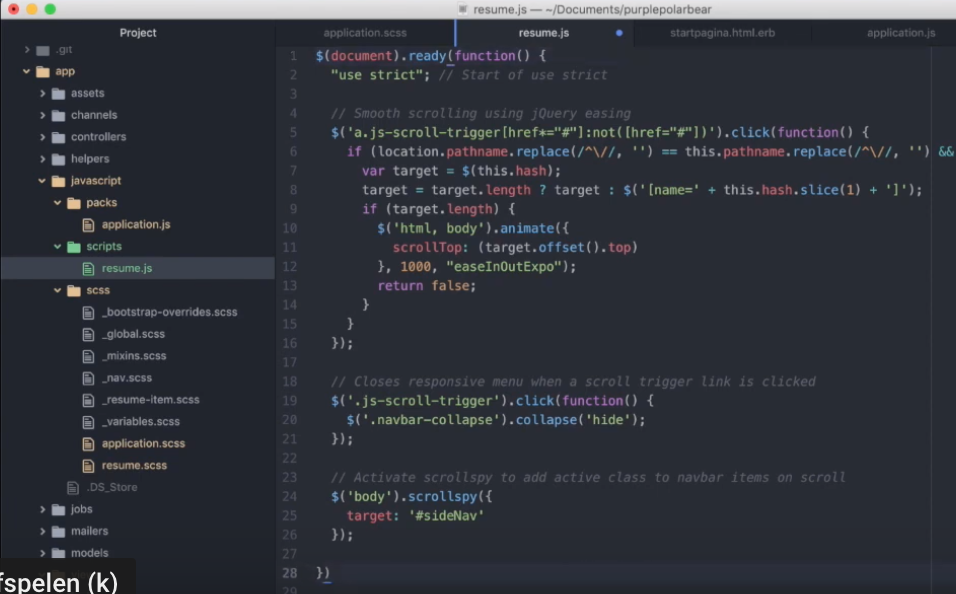
We will fix scrollspy to add this feature to our website.
Open resume.js in Atom. Replace (function($) { by $(document).ready(function() { and remove (jQuery); At the end of the page.
Image 8
Before we check the page, let’s fix one small issue. The mobile menu displays the wrong name. Open startpagina.html.erb en replace Clarence Taylor on line 5 with Purple Polar Bear (or your own name).
Open the browser and refresh. If you click on a menu item, this menu-item will be highlighted!
So, now we have finished our resume. We can commit the changes and push to Gitlab.
Type git status to view all the files that we changed in the branch. Then:
git add .
git commit -m “final touches”
git push
We can now also merge our branch into master, because we are finished with this branch.
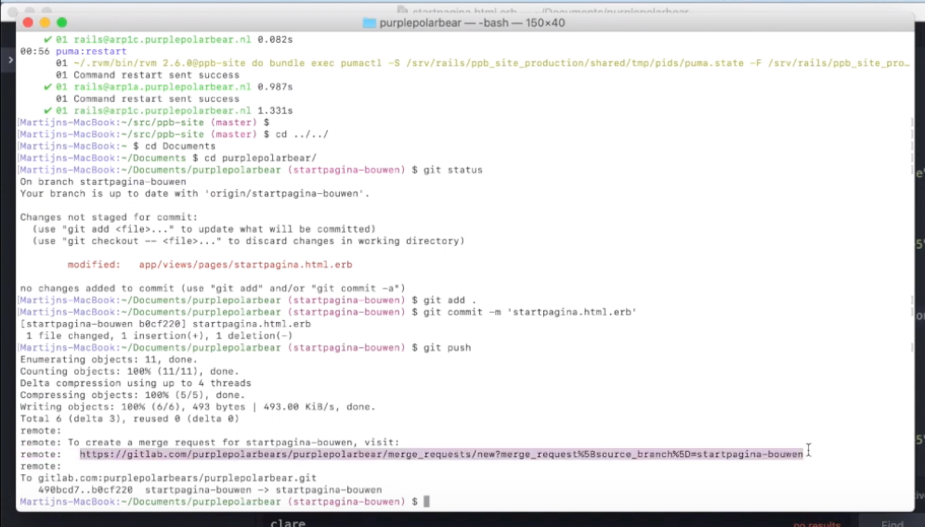
Copy the merge url in your terminal after you push to Gitlab.
Paste the url in your browser.
Image 9
OR
Log in to Gitlab and go to Repository → Branches. Click merge request on our startpagina branch.
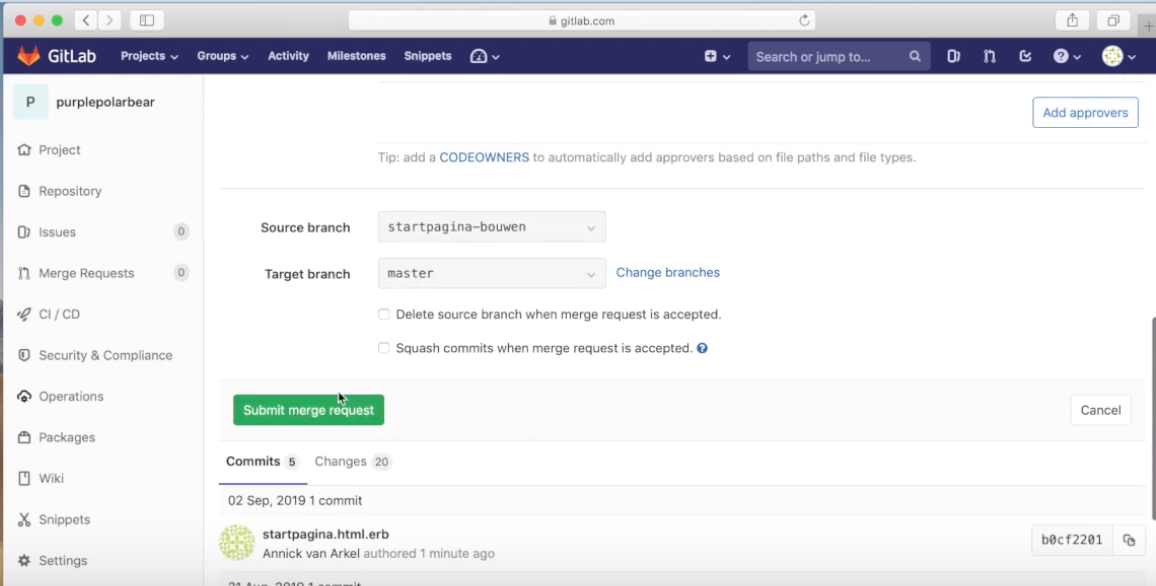
Review the changes that will be merged into master.
Select Delete source branch when merge request is accepted and Submit the merge request.
Image 10
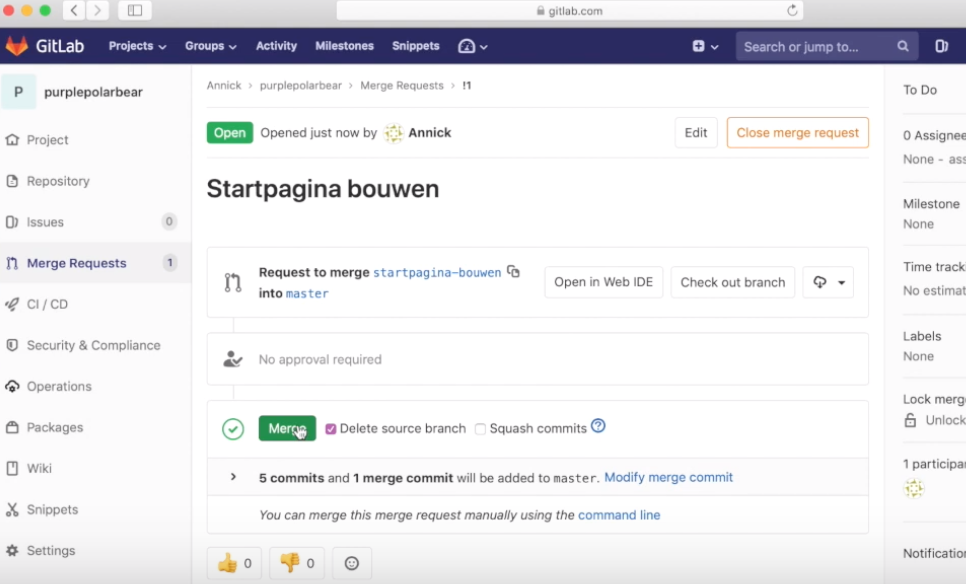
You can merge the request or close the merge request (closing is discarding merge request without merging).
Image 11
After merging, go to your terminal and type
git checkout master
After this you can type
git pull
Image 12
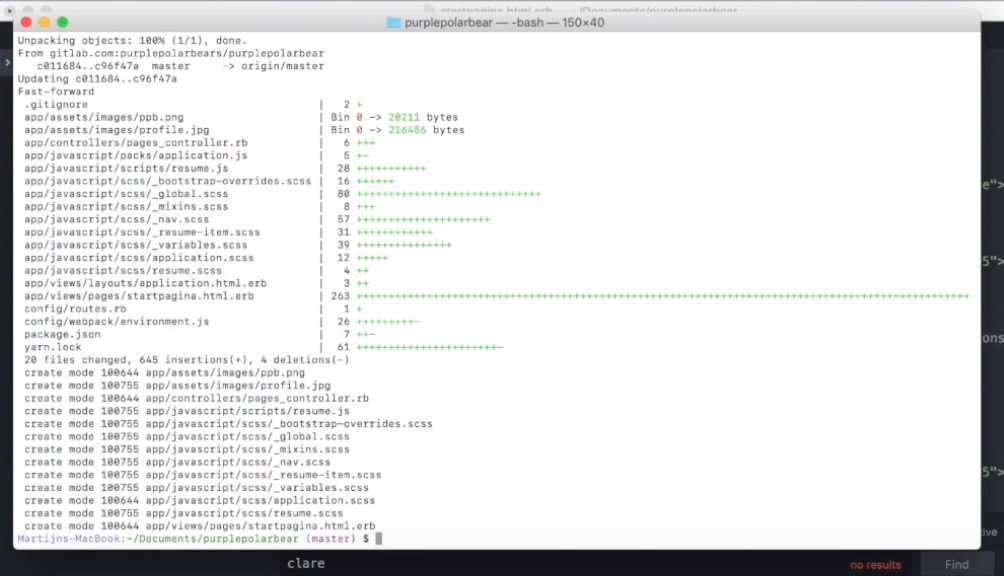
Your local master branch now has all the changes that were in your startpagina branch.
Meer?
Volg ons op Linkedin! Dan krijg je een notificatie op het moment dat we iets nieuws publiceren :-)
Ga naar onze LinkedinPurple Polar Bear B.V. | hello@purplepolarbear.nl | KvK: 70930899 | BTW: NL858515283B01