Coding Tutorial #2: Your first Web App
Coding tutorial in which we help mac users get set up to code and teach how to develop your own web app step by step.
Oh, it’s you again,
Welcome back to our blog series. This is the second installment where we are going to take you through the process of creating your own web-app and teaching you how to start coding. If you have not read our first blog, please check it out before trying to complete any of the instructions given in this post.
If all has gone according to plan, you have installed Ruby and the gem, Rails. In this blog, we are going to continue from where we left off on our last blog and create your first real app!
Here is the related Vlog:
Let’s get started! Open your terminal.
Now, we have to navigate to your documents. You can do this in the terminal by using "cd" - which stands for Change Directory.
To navigate to your documents, type in the following:
--------------------------------------------------------------------------------------------------------------------------------------------------------
cd Doc
--------------------------------------------------------------------------------------------------------------------------------------------------------
* make sure to use a capital letter "D" and press tab for the autocomplete
Press Enter
Your terminal has now directed you to the documents folder. Here is where we are going to save your new app.
In your terminal, type in:
--------------------------------------------------------------------------------------------------------------------------------------------------------
rails new purplepolarbear
--------------------------------------------------------------------------------------------------------------------------------------------------------
Press Enter
Purplepolarbear will be the name of your app. If you wish to choose your own name that is perfectly fine. Do realize that if you do choose your own name to substitute the name you chose for any time the instructions mention - purplepolarbear.
Before we continue, we want our application to be saved in a central place so that the latest versions can be saved and easily managed with and by others. This is important to ensure that any f*ckups can be easily rectified.
Good idea, right?
This is something that we can do via something called git. Git is a distributed version control system for tracking changes in source code during software development. It’s easy to use and a very helpful tool for programmers.
So now we are going to install git
![]()
To install git, type the following into your terminal:
--------------------------------------------------------------------------------------------------------------------------------------------------------
brew install git
--------------------------------------------------------------------------------------------------------------------------------------------------------
Press Enter
Now that is done, we still need a place to save your app in a central place. We are big fans of GitLab and you can create your own account for free.
So go to https://about.gitlab.com and sign up. This won't take you long! After you have created your account, you are able to open a new project.
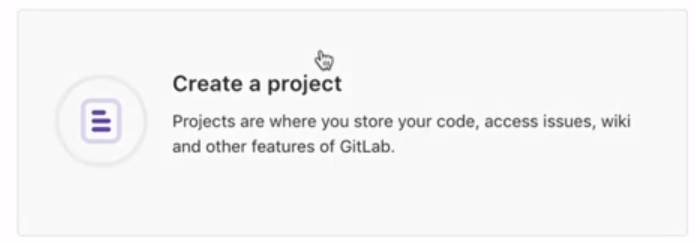
Click on “Create a Project”,
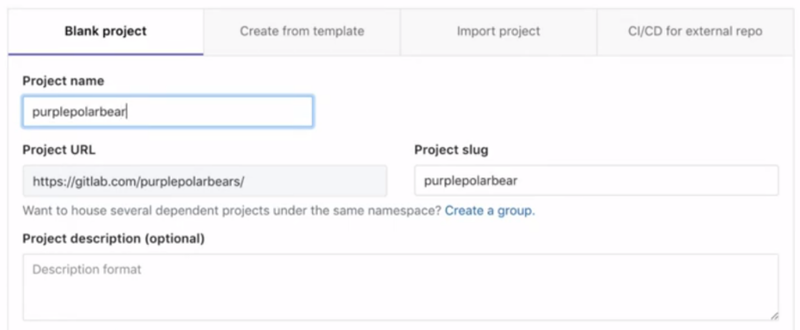
Type in a project name – we have called our project “purplepolarbear” because this is what we have called our app. If you want to choose a different name, that would be a massive mistake. Who wouldn’t want their project to be called “purplepolarbear”?
On a more serious note, choosing your own project name is perfectly fine!
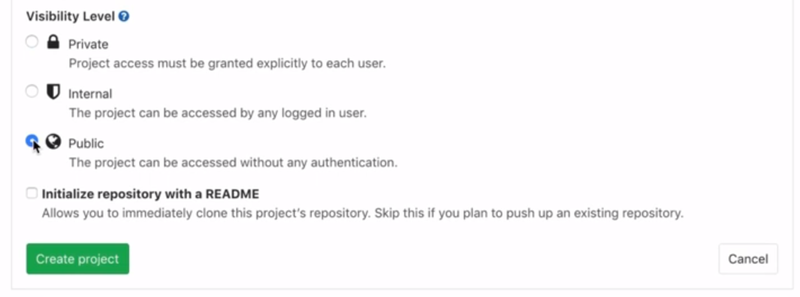
Choose public or private – this is a personal choice, one you will need to make yourself. Our project is public to make sure that the readers and viewers of our vlog can find it, but if you wish to keep your project private, then you may do so.
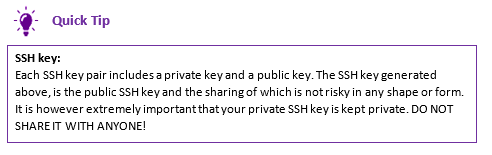
The next step is to make sure that GitLab is trusted by our computer and vice versa. For this, we need to set up the SSH key.
First, we are going to create the SSH key in your terminal. We do this by typing the following in your terminal:
*Do not copy and paste: write the type the following manually and replace “test@example.com” with your email.
--------------------------------------------------------------------------------------------------------------------------------------------------------
ssh-keygen -t ed25519 -C ‘test@example.com’
--------------------------------------------------------------------------------------------------------------------------------------------------------
Press Enter
Then Press Enter again
Oh, and then Press Enter again.
Now we have to type the following into the terminal:
--------------------------------------------------------------------------------------------------------------------------------------------------------
pbcopy < ~/.ssh/id_ed25519.pub
--------------------------------------------------------------------------------------------------------------------------------------------------------
Press Enter
Now the SSH Key is copied to your clipboard. This needs to be pasted into your GitLab account. To do this a number of steps have to be completed:
- Go to your GitLab account.
- Open the dropdown menu found in the top right of your screen. After which click on the option "settings".
- Click on the menu option named "SSH keys" – look on the left side of the page.
- Paste the SSH key in the text field for the SSH key.
- Under "title", you can give your SSH key any name you want
- Press the button “Add Key”
Did you complete all these steps? That means we are secure and we can move on to the next topic.
We now need to ensure that the project that we just created on your computer is linked to the project that we created on GitLab.
Let's go!
Click on "Projects" at the top of your screen and then click on "Your Projects".
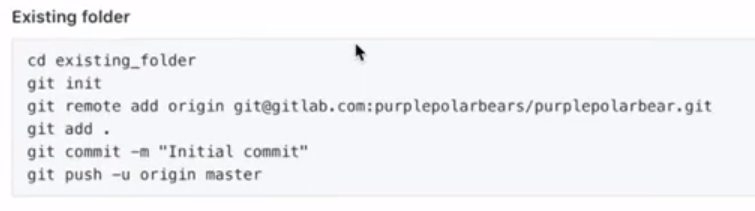
Now you are able to open your own projects. Click on the project you have created. Once doing so, scroll down to the heading “Command line instructions” and find the sub-heading “Existing Folder”.
Copy everything under that sub-heading as seen in the image below, this will be pasted a little further on in the process.
Go back to your terminal and type in:
--------------------------------------------------------------------------------------------------------------------------------------------------------
cd purplepolarbear
--------------------------------------------------------------------------------------------------------------------------------------------------------
Paste the copied lines in your terminal.
Your terminal will prompt you with a question, namely: “Do you want to continue"? If you got this too, then type:
--------------------------------------------------------------------------------------------------------------------------------------------------------
Yes
--------------------------------------------------------------------------------------------------------------------------------------------------------
The app is now also visible in your GitLab project. Now that we have ensured the code is safe and secure, we are going to see if it works.
Type In your terminal:
--------------------------------------------------------------------------------------------------------------------------------------------------------
rails s
--------------------------------------------------------------------------------------------------------------------------------------------------------
Then open up your browser and type in:
--------------------------------------------------------------------------------------------------------------------------------------------------------
localhost:3000
--------------------------------------------------------------------------------------------------------------------------------------------------------
Press Enter
Do you also see "Yay! You' re on Rails!"?
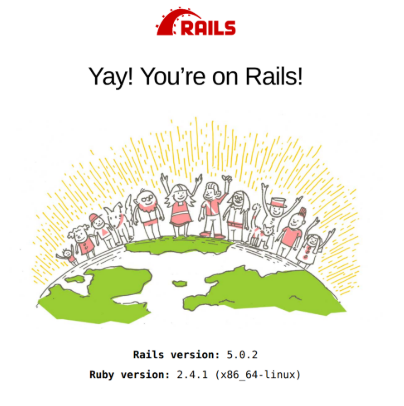
Cool! Me too. That means that everything is working as it should.
This brings us to the end of this blog. Here is a short recap of the what we tackled in this blog post:
Blog Recap
- We created your first Rails app in your documents.
- Then we installed git to save the code in GitLab.
- After this, we started your Rails app for the first time
In the next blog, we are going to expand this app further where you will see your work in your browser for the first time. Exciting right? Then make sure you check out our next blog.
Be there or be square (yes, very original, we know)!
Meer?
Volg ons op Linkedin! Dan krijg je een notificatie op het moment dat we iets nieuws publiceren :-)
Ga naar onze LinkedinPurple Polar Bear B.V. | hello@purplepolarbear.nl | KvK: 70930899 | BTW: NL858515283B01